


Day 1 Layout, cutting and hat channel removal-
Layout and rough cutting of roof skin
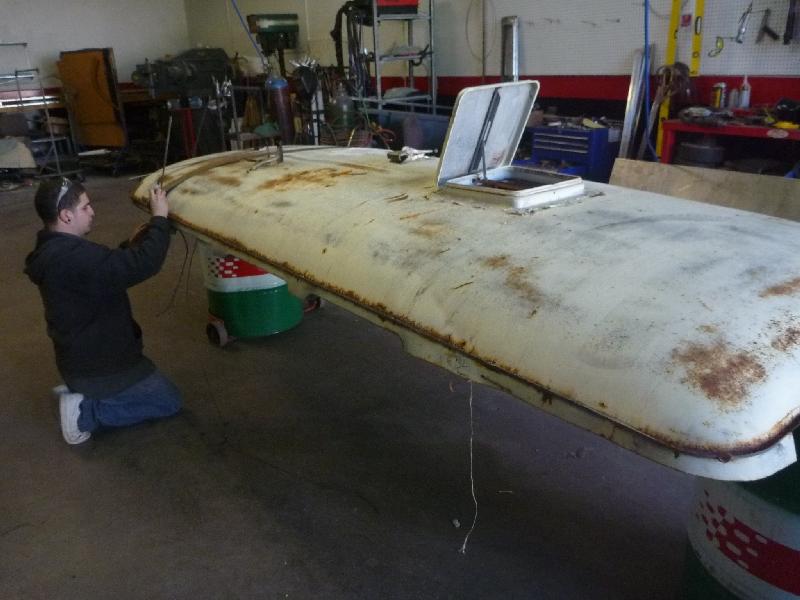
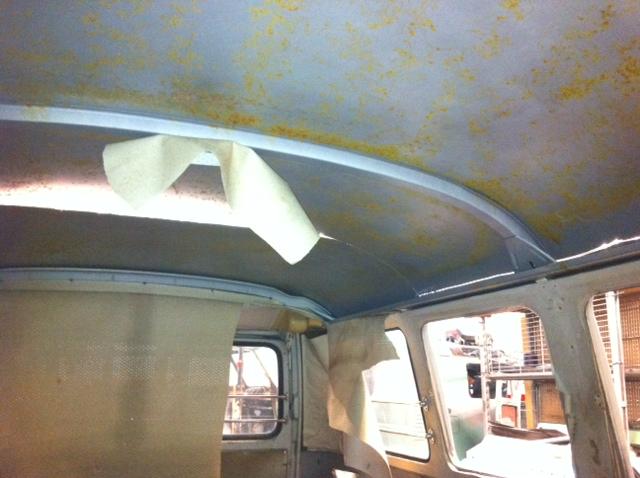
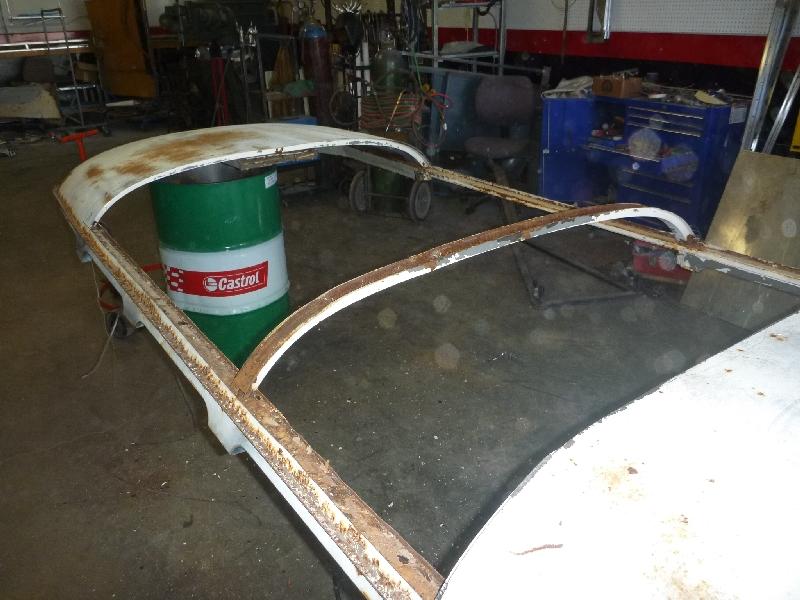
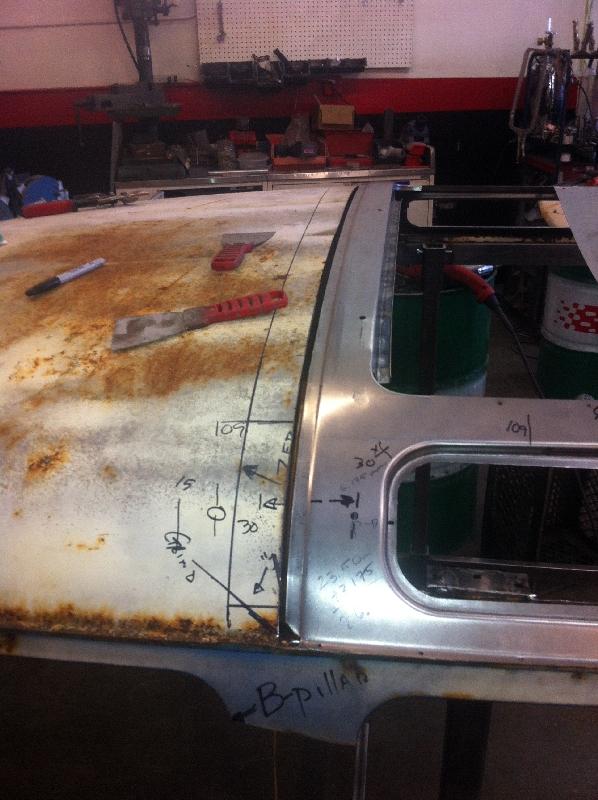
Layout of hard top roof.
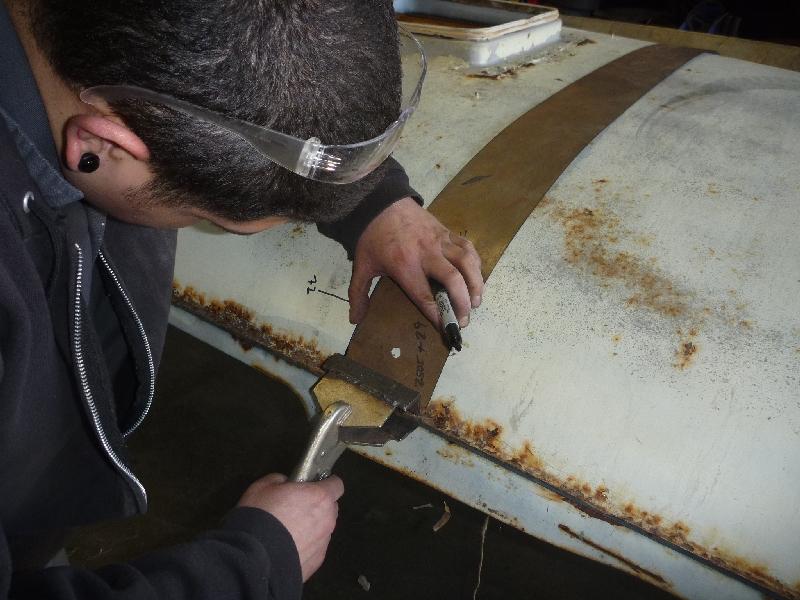
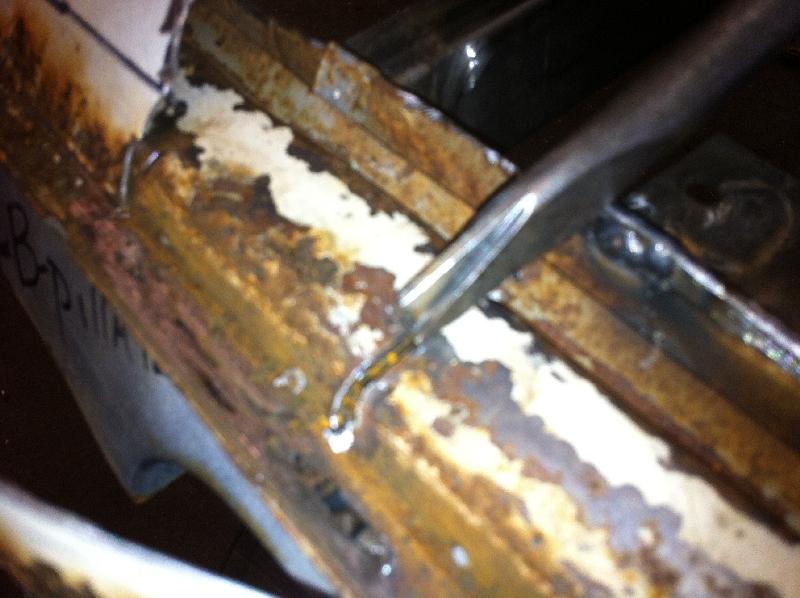
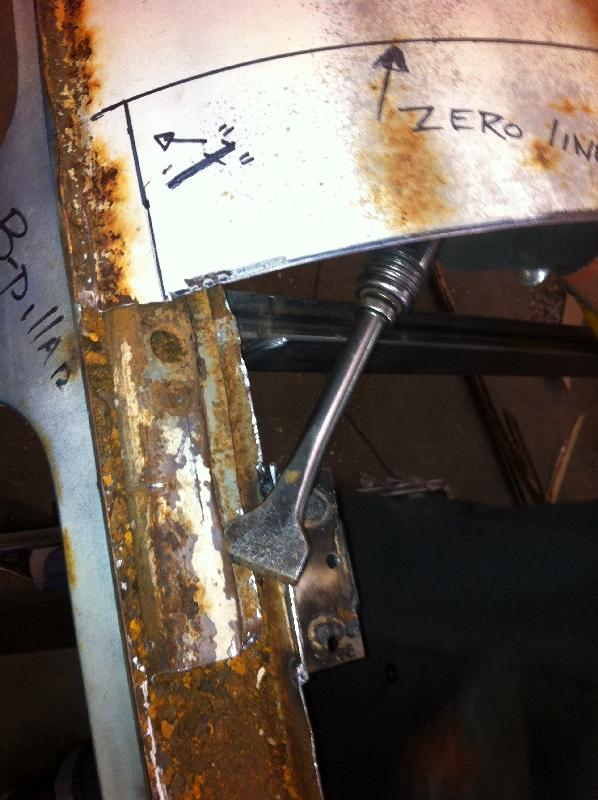
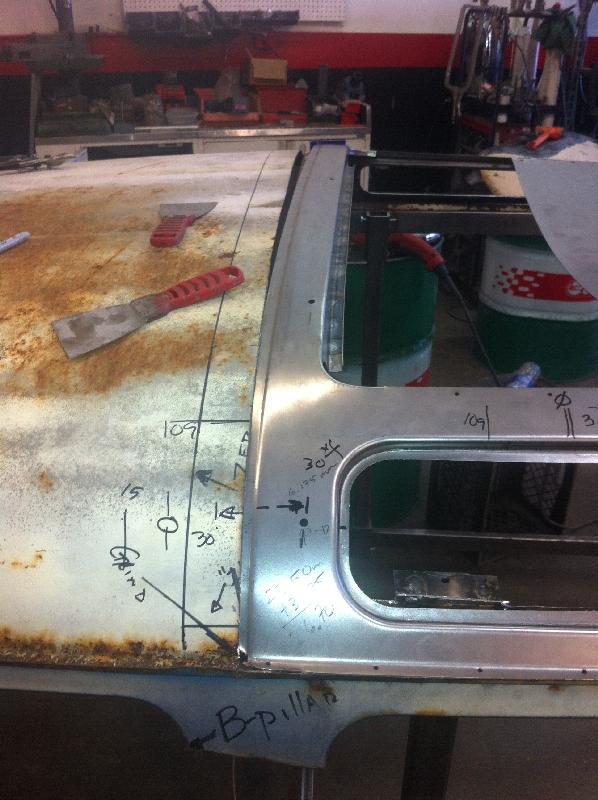
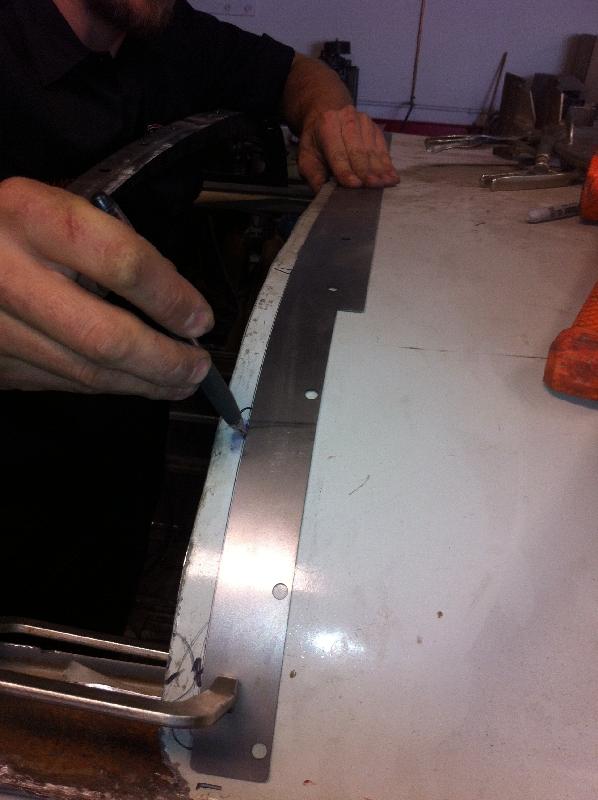
the B-pillar edge is used for reference and transferred to the roof with the use of a steel ruler and a sharpie- THIS IS NOW REFERRED TO AS THE ZERO MARK, THE MEASUREMENTS BELOW ARE FROM THIS LINE, IT IS YOUR REFERENCE LINE.
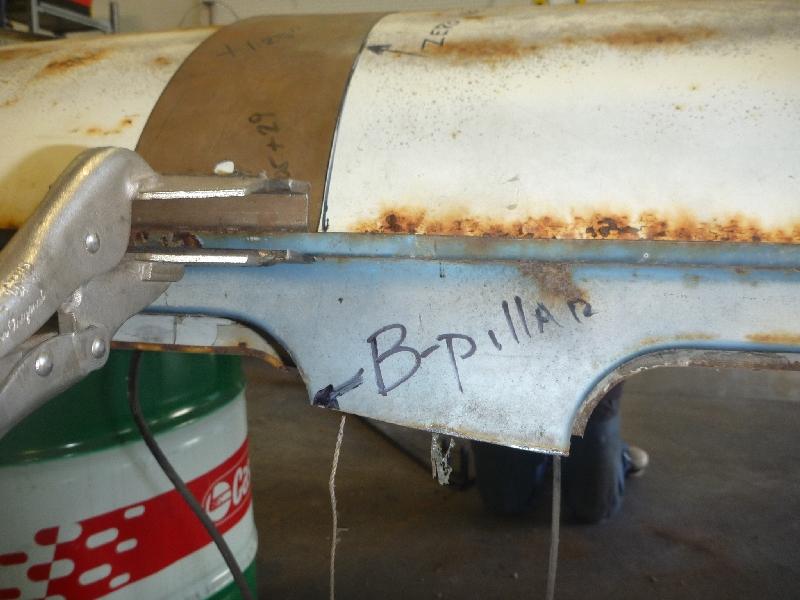
this is done on both the passenger and driver side and marked with a pencil or sharpie.
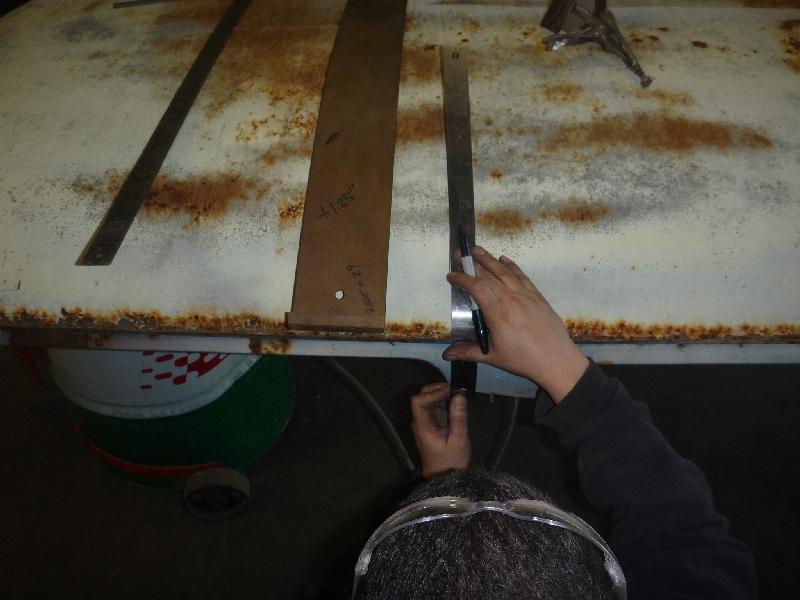
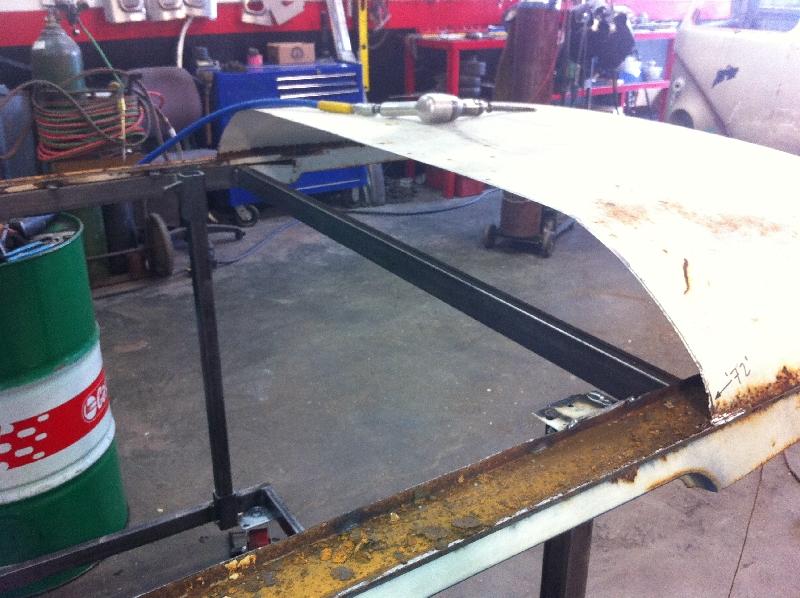
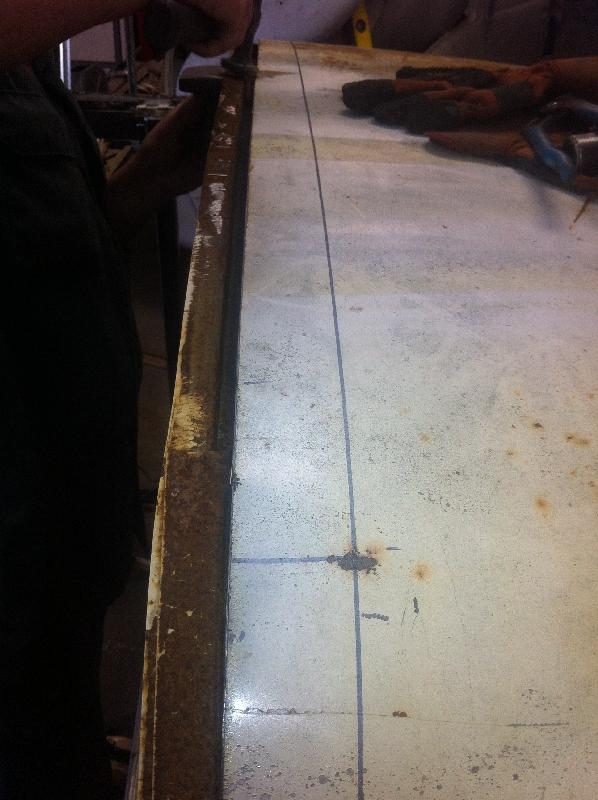
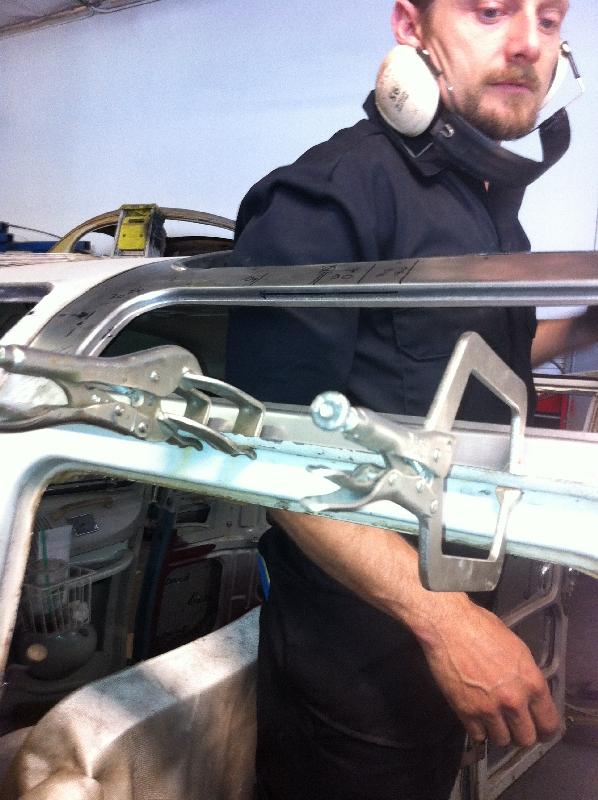
a flat piece of steel is clamped from one side of the roof to the other with the edges lined up to the transfer marks across the roof
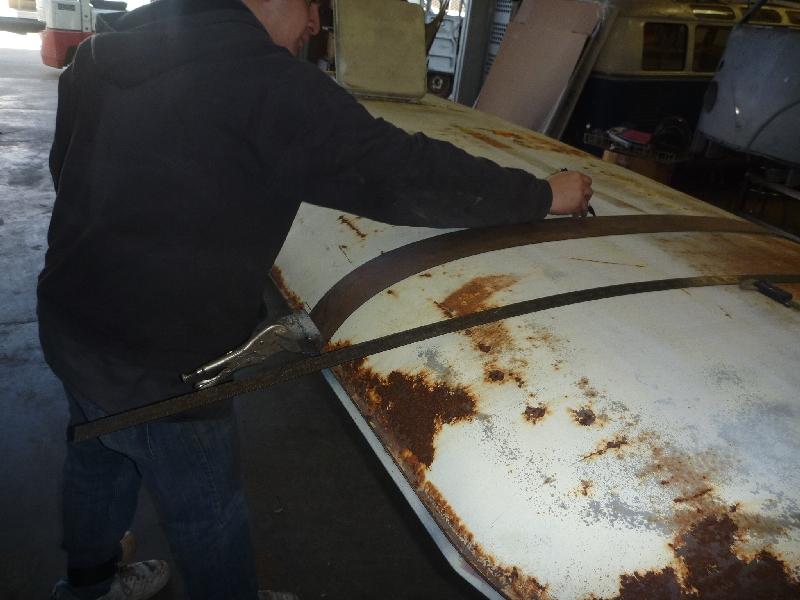
with the metal strip clamped in place, a line is marked from one side of the roof to the other
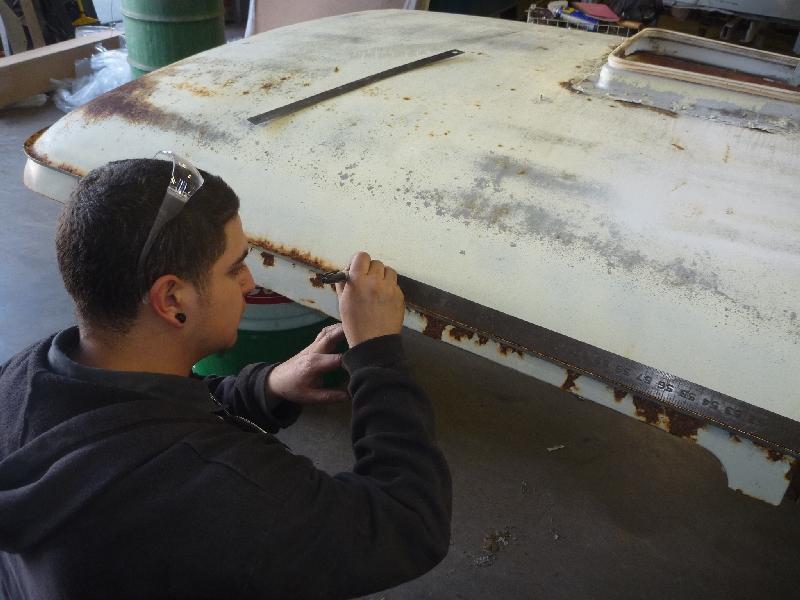
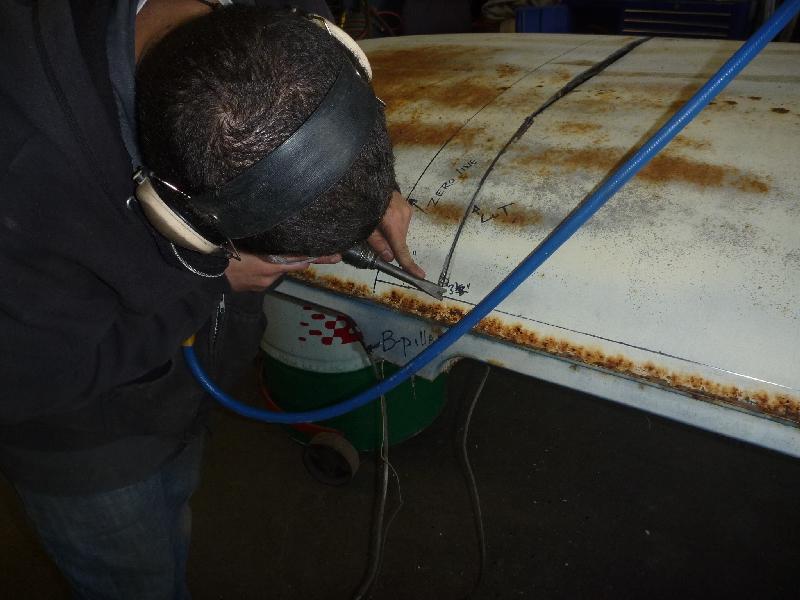
now a 1" mark up from the zero line is marked ( do both sides )
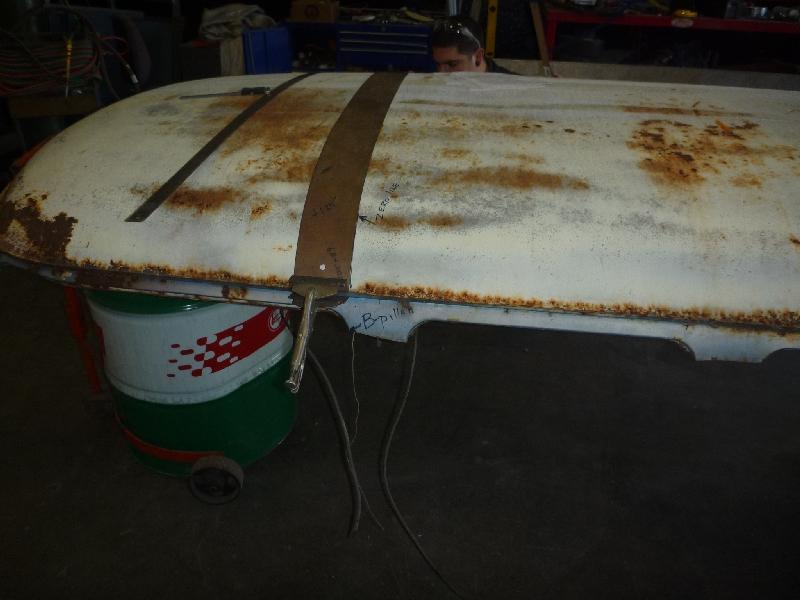
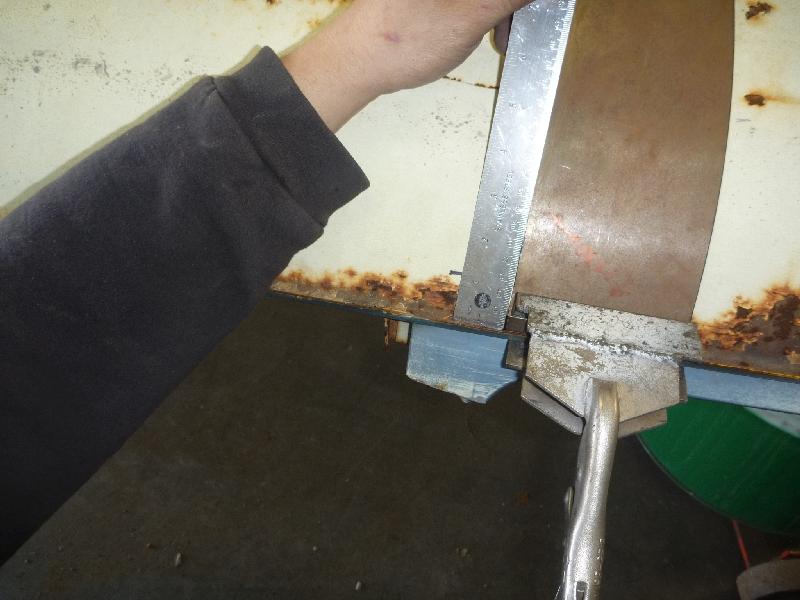
a 72" steel ruler is lined up at the zero mark.
mark the 72" edge and also 1" all the way down the sides
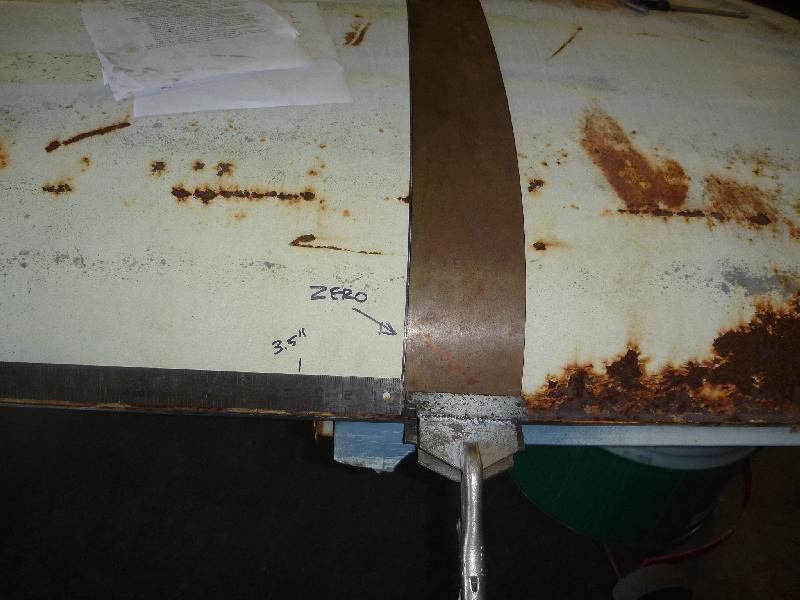
with the steel ruler still in place, also mark 3.5 inches from the zero line
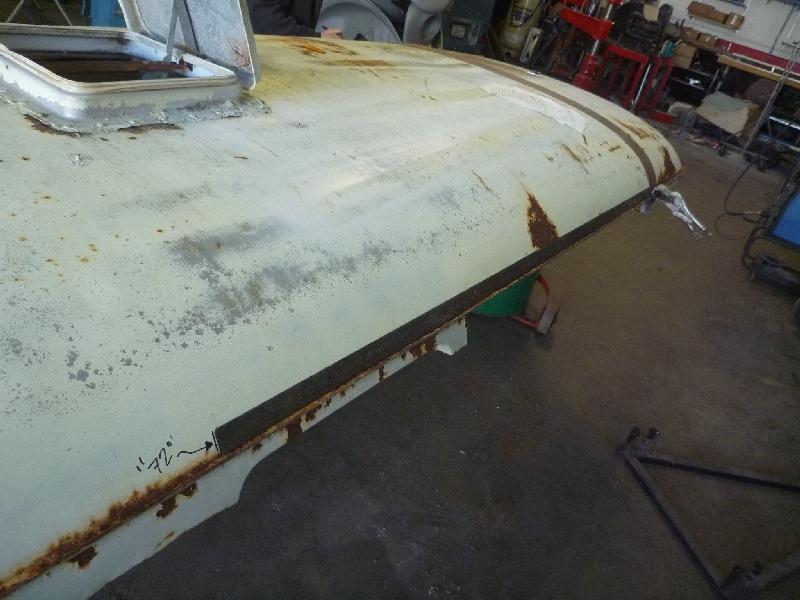
the same strap of steel is used to mark a line from one side of the roof to the other at the 72" mark ( the 72" mark is the rear rough cut line )
and the 3.5" mark (the 3.5" line is the front rough cut line)
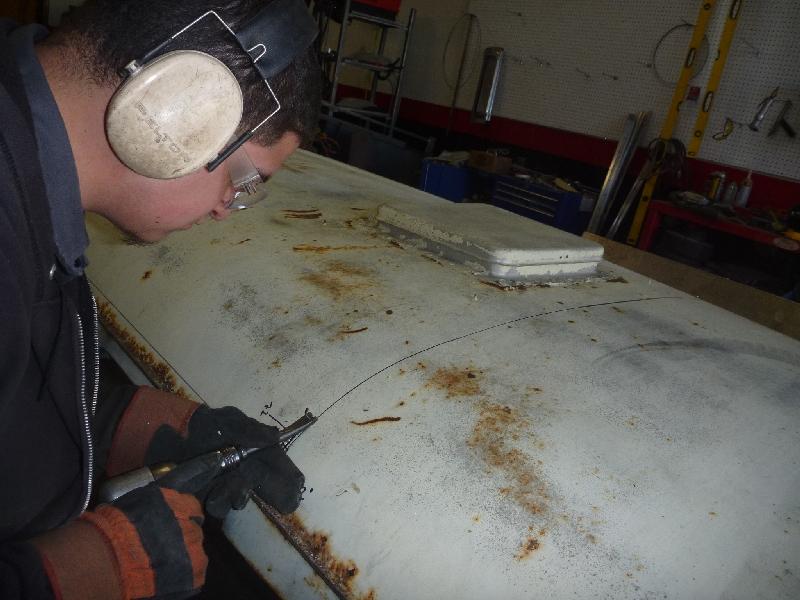
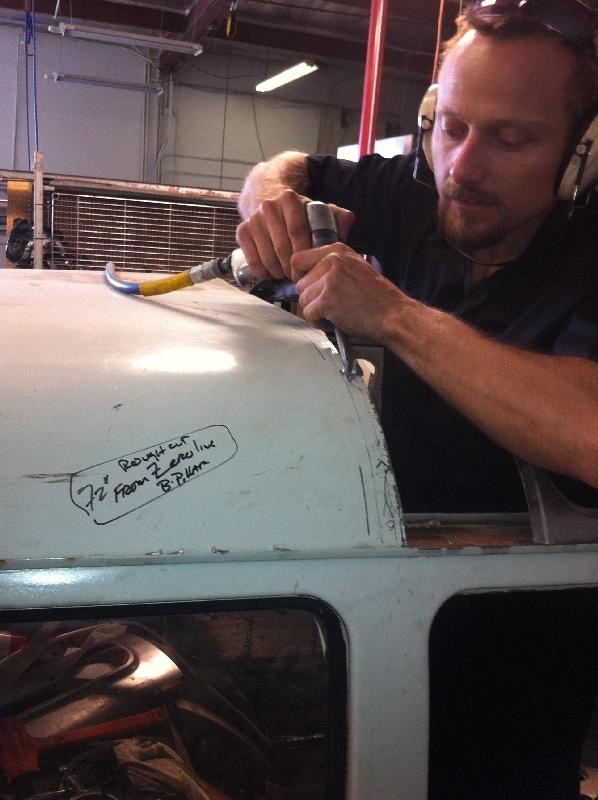
a pig tail air chisel bit is used to rough cut at the 72" line

cut on the lines
after the front 3.5" mark and the rear 72" mark have been cut, now cut along both sides at the 1" mark
( be careful not to cut the stiffener on the inside of the roof)
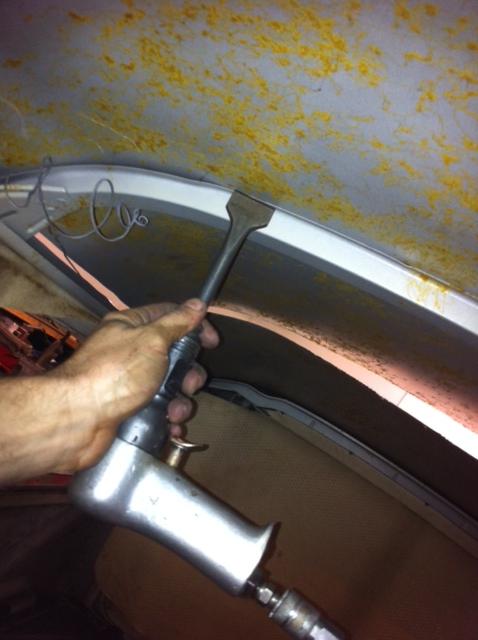
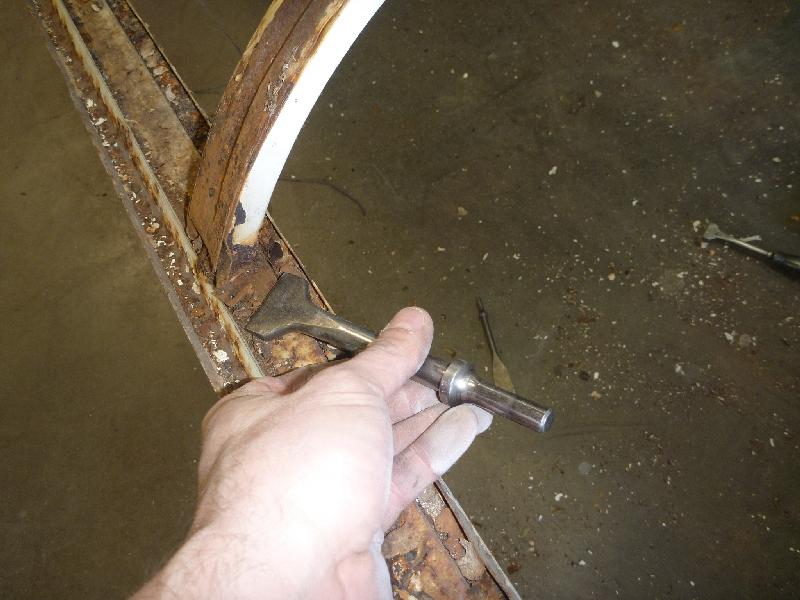
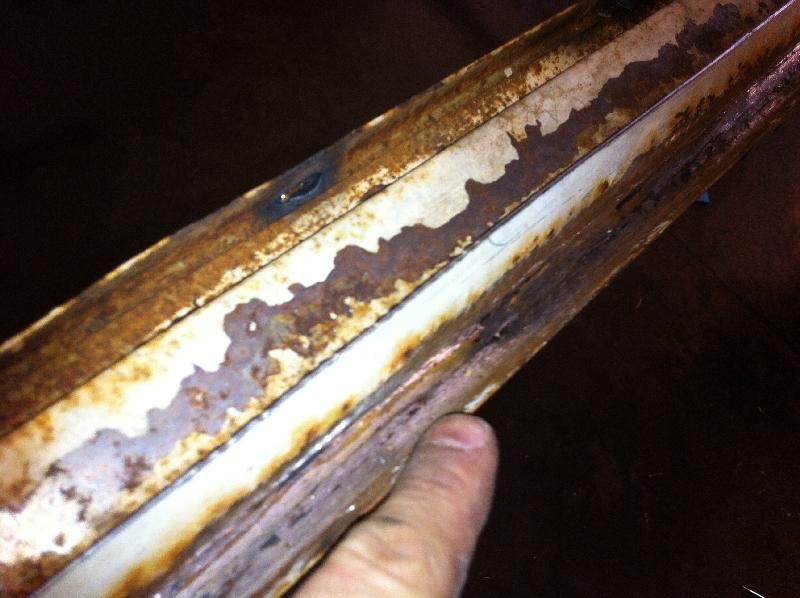
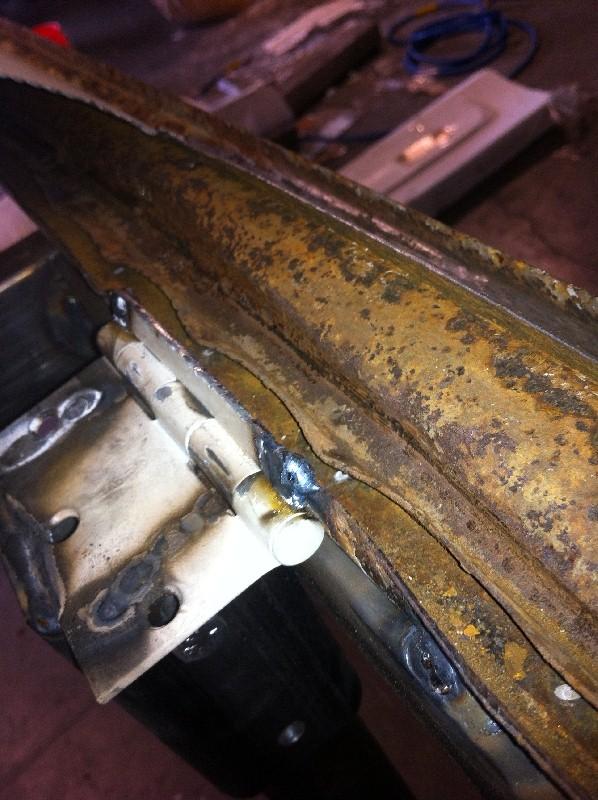
from under the roof, a wide blade chisel is use next to the flange of the stiffener on both sides
the shock from the air chisel breaks the welds without punching through the roof
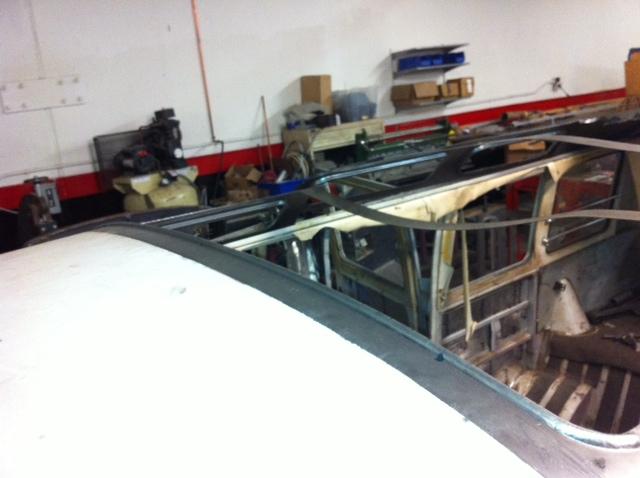
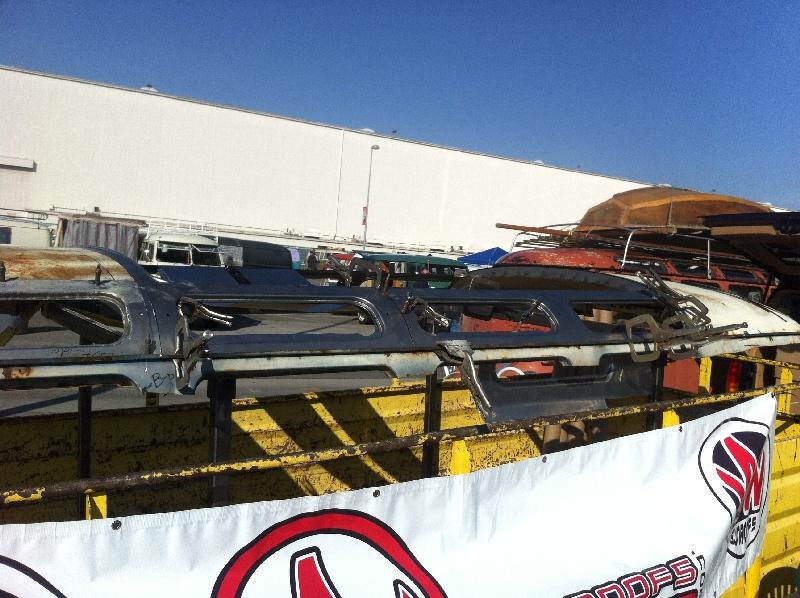
with the stiffener broken free from the roof skin the roof panel can be lifted off and removed
interesting- normally there is a complete bus attached to the roof, I will be reinforcing this roof before we proceed to the next step ( removing the inner hat channel )
the stiffener is attached on the inside of the drip rail- a wide chisel blade is use to break these weld ( in this case they were already broken free)
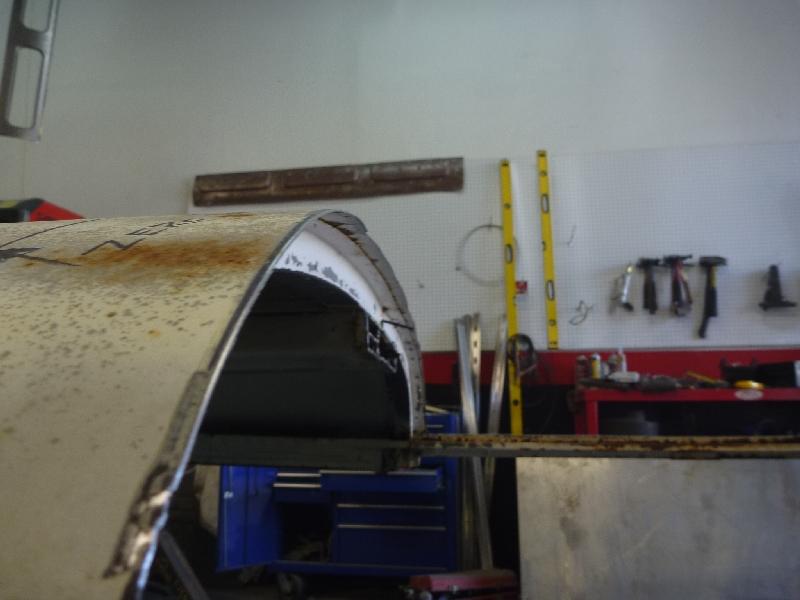
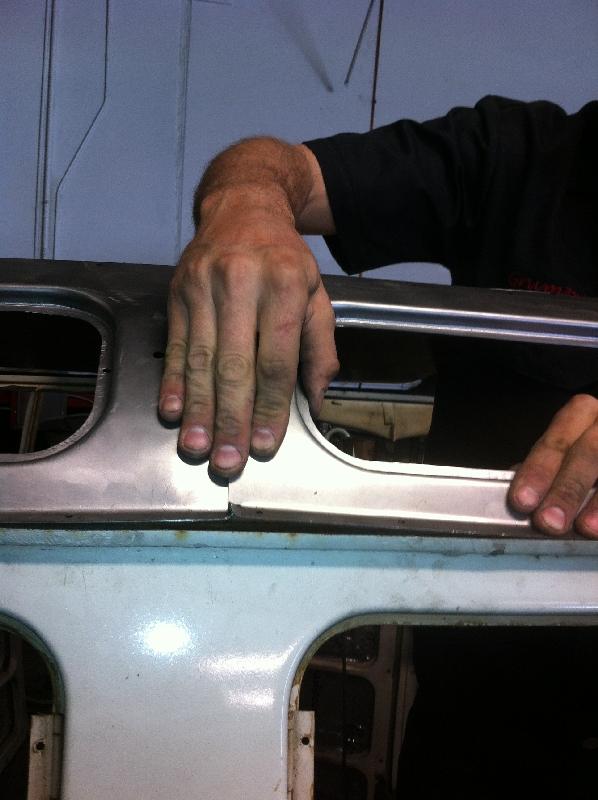
here is a picture of the front stiffener- we will be using this for reference for the final cut line in the next step
All in all we have just over an hour in the work listed above, don't be afraid to take more time to make sure you've done these steps correctly, it takes far less time to do something right than to do it twice- More to come.
Continued from above ( I'm trying to make the photos steps as easy to see and understand so some of the images are from different jobs)
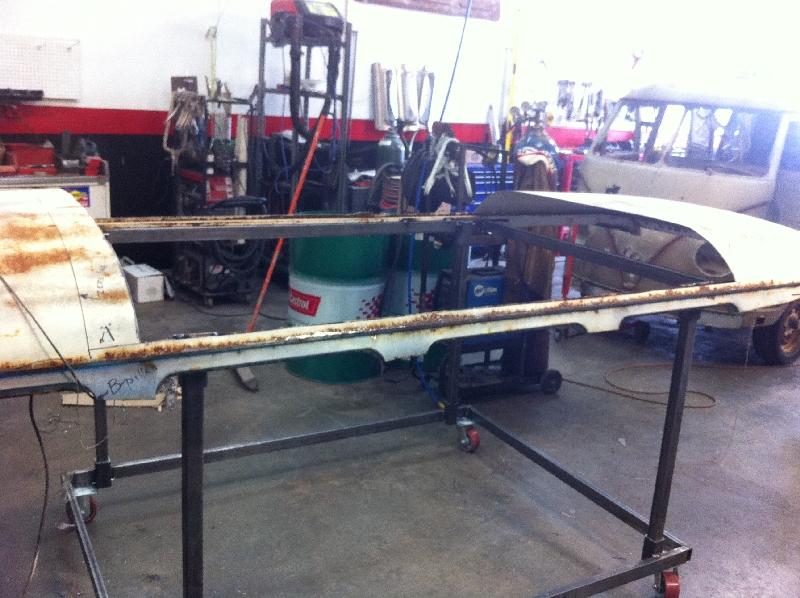
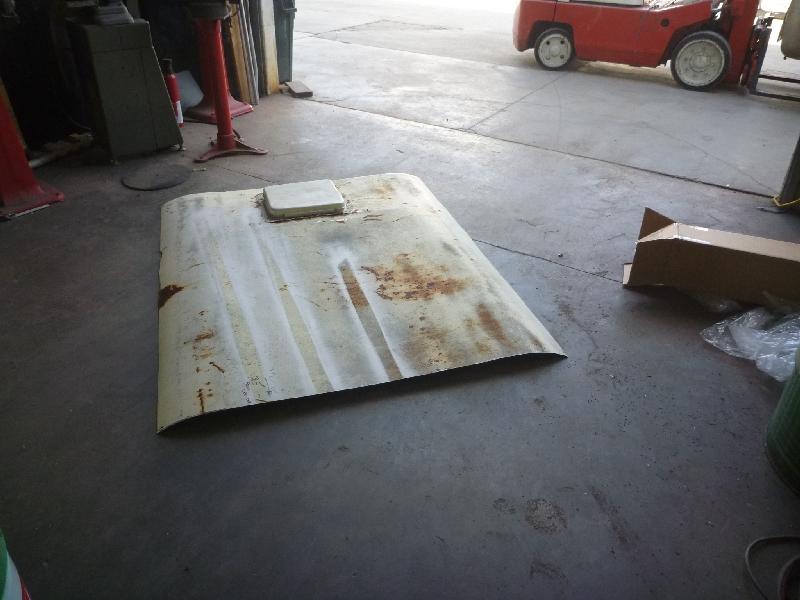
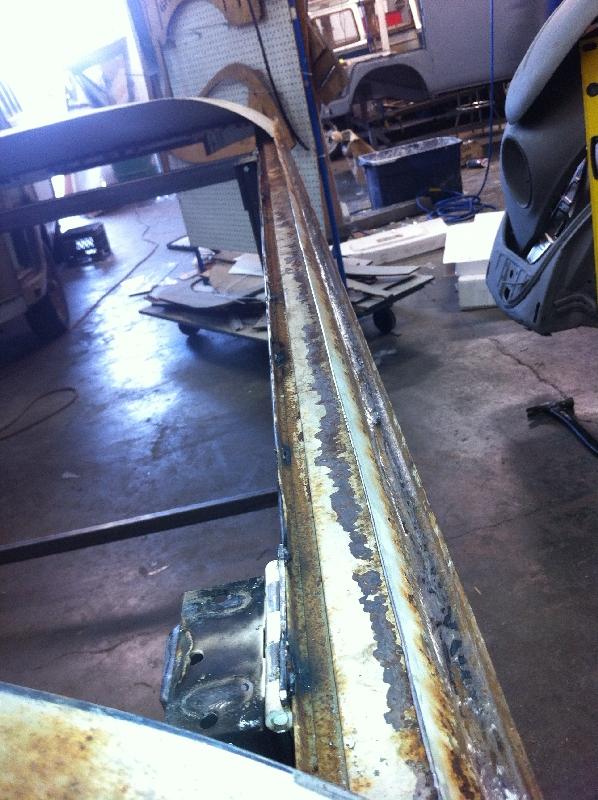
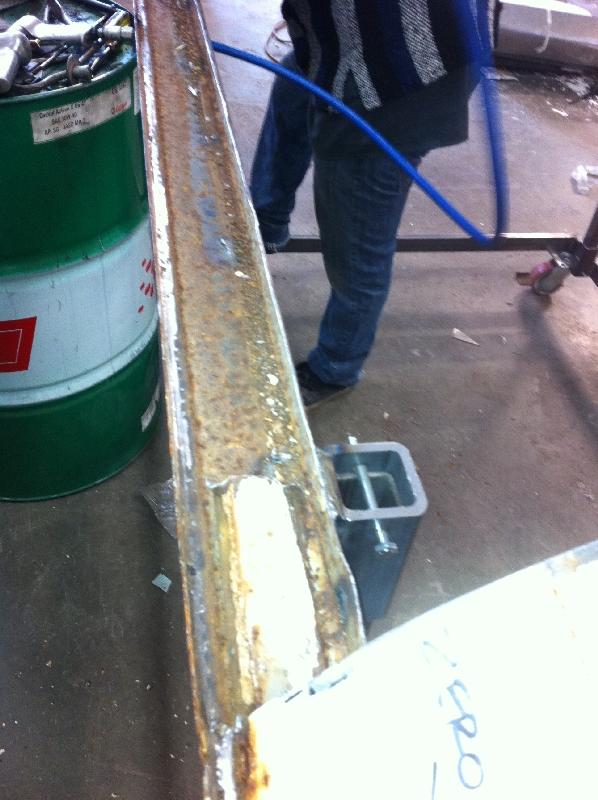
With the bulk of the roof removed we now focus on the inner hat channel (as you can see I've mounted the roof on a cart- I'm embarrassed to say that I overlooked supporting the front of the roof and the front actually bent forward during transport to the show- I did not have anything welded to it)
this is the hat channel and the 1" parameter on the sides left from the rough trimming in the previous steps

the roof panel flange is ground at the drip rail ( through the roof to the drip rail)

once the roof panel is ground it will either pull up easily or will be jolted free during the next step when we remove the hat chanel
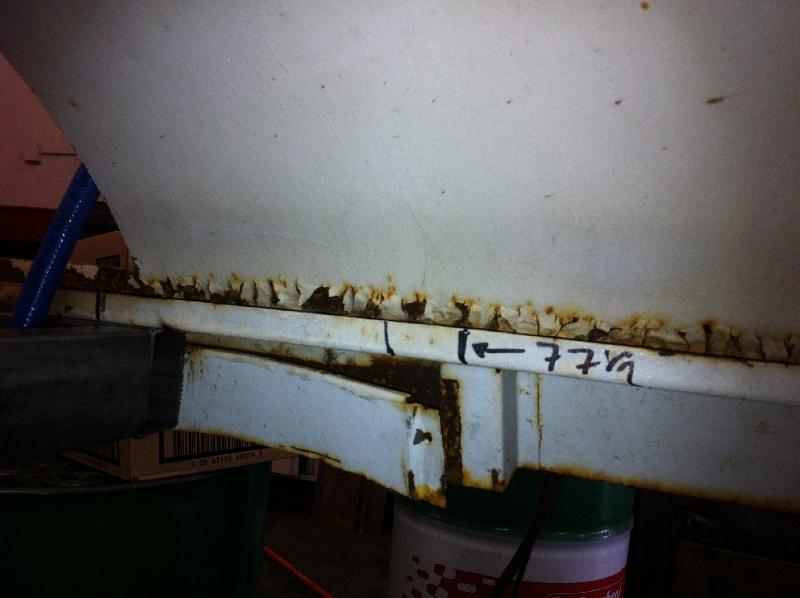
we've marked the inside drip rail at 77.5 from the zero line, we will be removing the hat channel to this mark
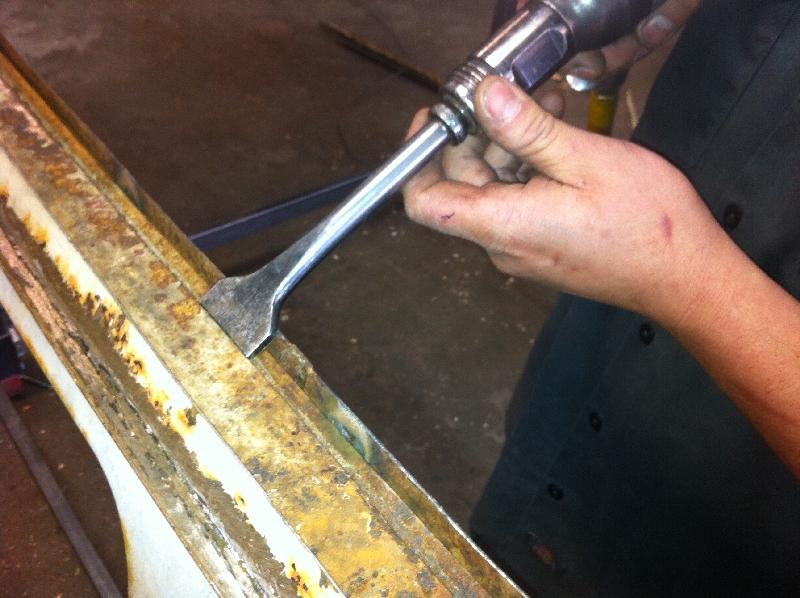
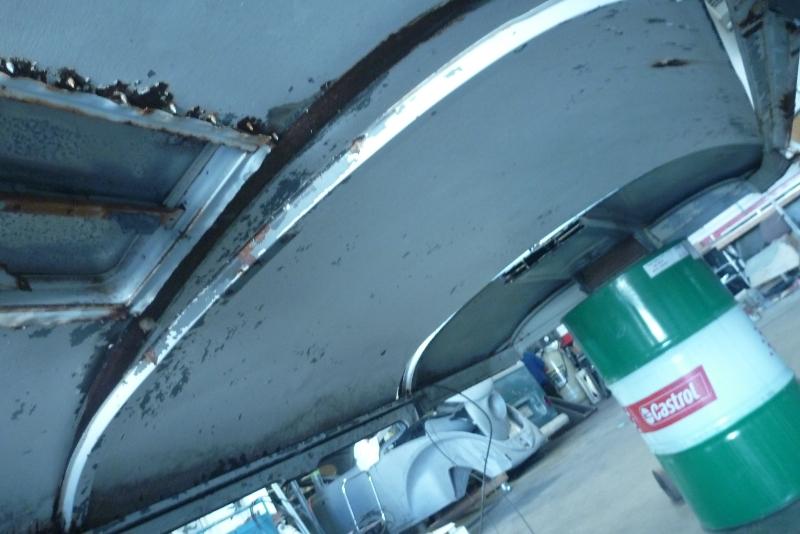
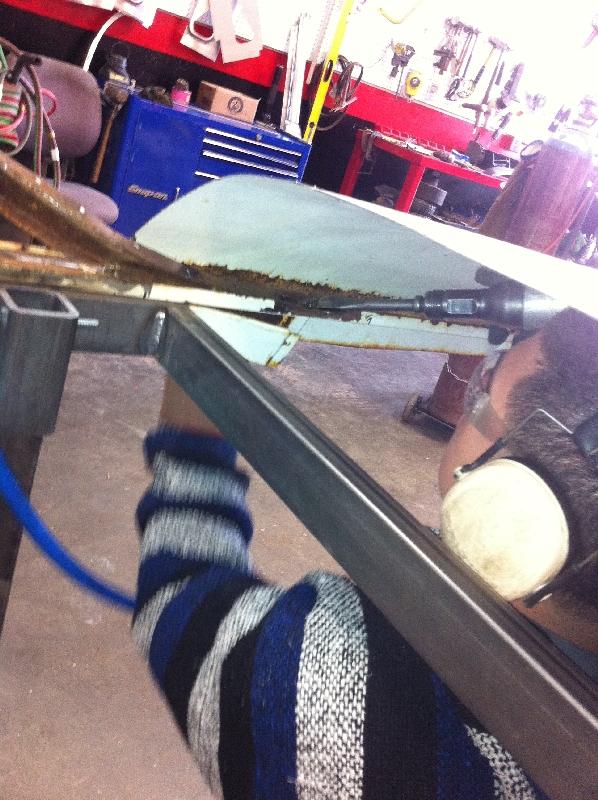
using an air riveter and a wide chisel blade, using low pressure and long even passes the hat channel is removed ( please note, over the cargo doors both the hat channel flange and the roof panel flange are ground, this is to not bend the drip rail that is unsupported )
here you can see the hat channel welds are broken free and the channel is is about ready to be removed
the hat channel is cut cross wise to make section that are more manageable for removal
the last bit remains partially under the rear of the roof
pieces are lifted up and removed- here the hat channel is being cut across at the 77.5 mark to complete the removal of this section
notice in these two photos the front portion of the hat channel is partial out from under to roof and also under the roof, and the chisel is used to remove the balance.
the hat channel is removed completely and the any bits of metal left are ground away- the channel is blown off and you should prep this surface for welding ( chemically and or mechanically ie acid and a grinder please us safety equipment to protect your eyes, skin, lungs and bits)
Trimming the front header and rear header
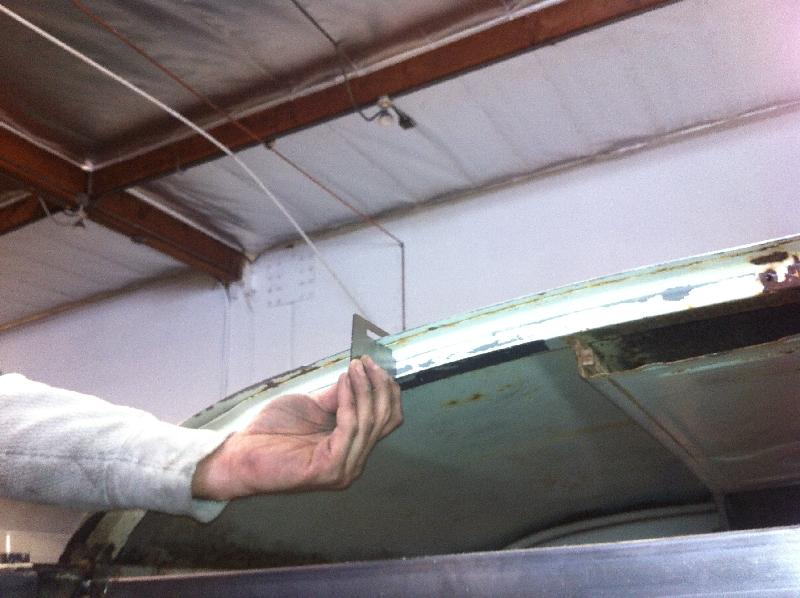
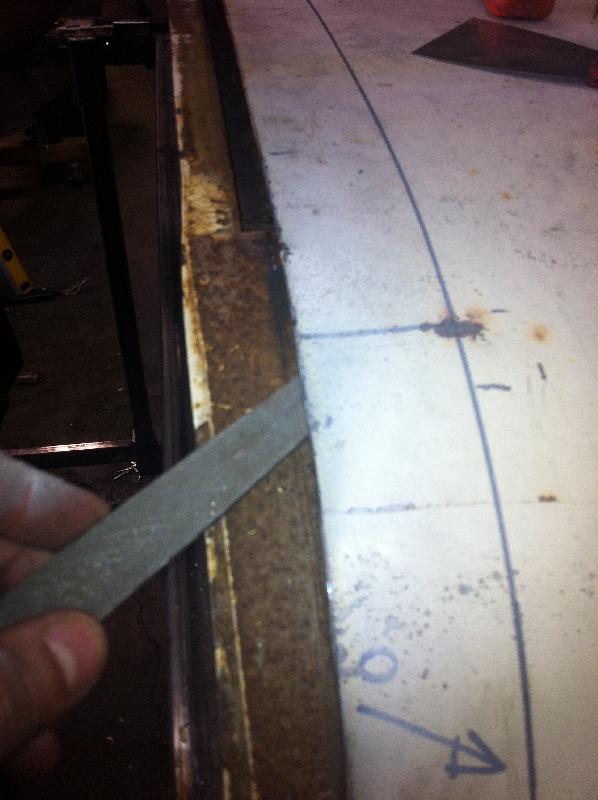
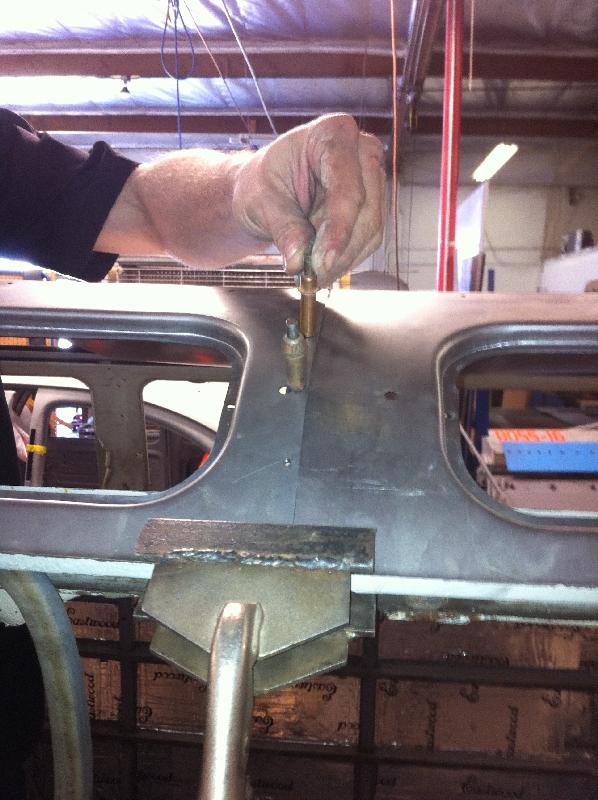
this is the front trimmed edge using the transfer scribe, included with the kit mark the final cut line for the front header panel
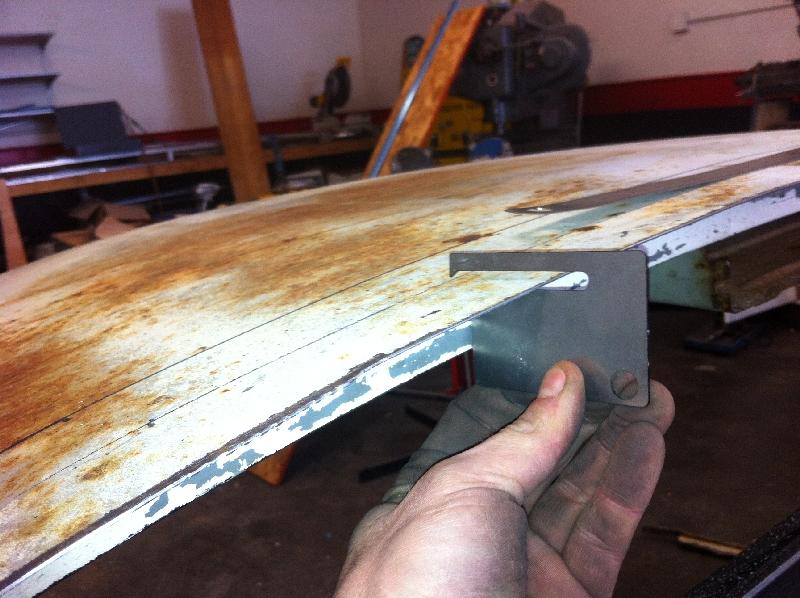
same process as above from a different angle
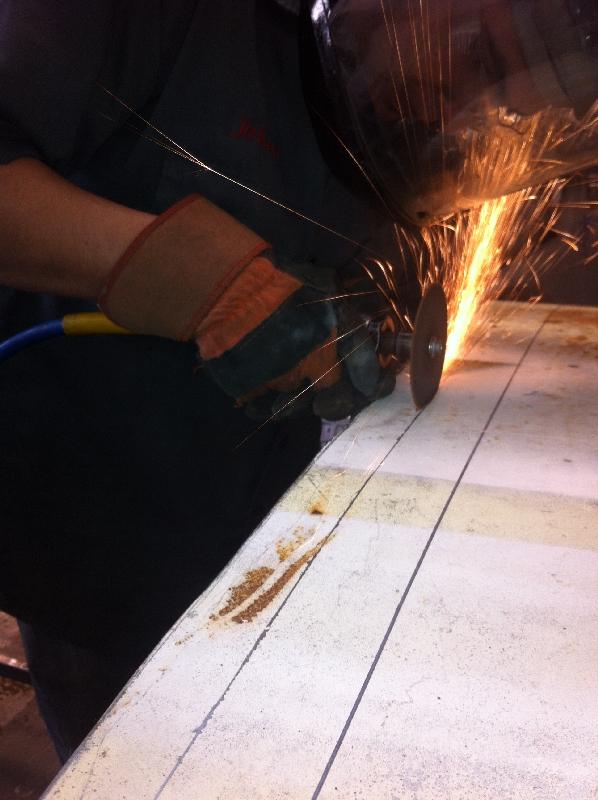
using a cut off wheel the final cut is made
we now have the final cut for the front header panel to nest under the roof located in the middle area of the stiffener
deburr the inside edge
front header panel placement ( this image was take of a prototype and does not have the bead feature)
one corner is tucked under the roof, you will be able to tuck about 80% of the panel pretty easily - use two spackle knives show here in the next step
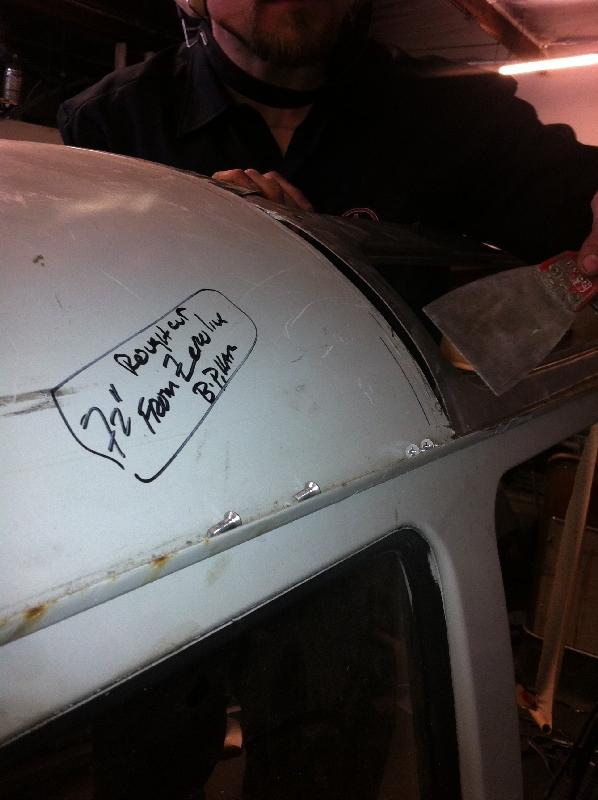
image is of the rear, but to see the process this image works- there will be a section that protrudes, placing the spackle knives and working them towards the raised portion and bumping the panel in the panel fits
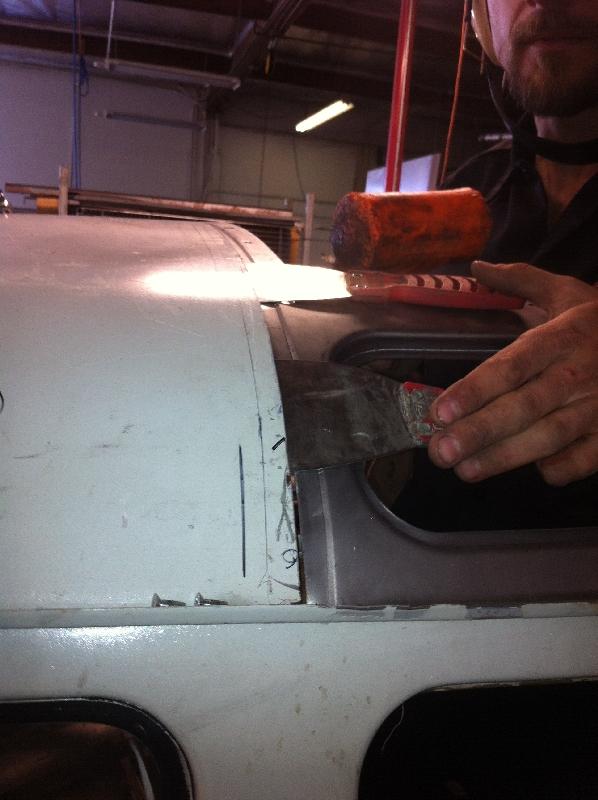
use a dead blow gingerly to move the panel in place
front image-- the panel will nest and have the correct tension to be almost seamless
with the front panel in place, it's vice gripped down to the drip rail( we've measured from the stiffener the new part for correct spacing)
the rear panel is placed on top of the front panel, to lap over at the cleco holes
it's pushed down, clamped and cleco-ed
the rear of the panel is ON TOP of the roof, it's lightly vise gripped in place- a transfer line is marked
the transfer line is marked from one side of the roof to the other
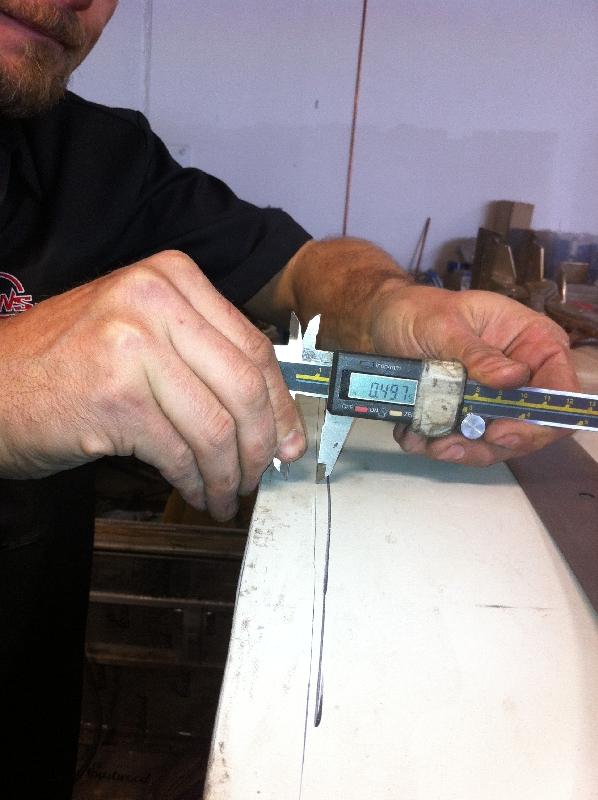
the rear panel is removed, the transfer line is shown here, calipers are used to mark forward from this line 1/2" in several places
here I'm using the headliner rear tension strip to create a straight line between the marks, a pen is used to draw a straight line
here I've used an air chisel to cut this line, but a cleaner method is to use a cut off wheel- deburr the edge. now refit the rear panel UNDER the roof
here the roof panels are clamped and cleco-ed together
